 |
|
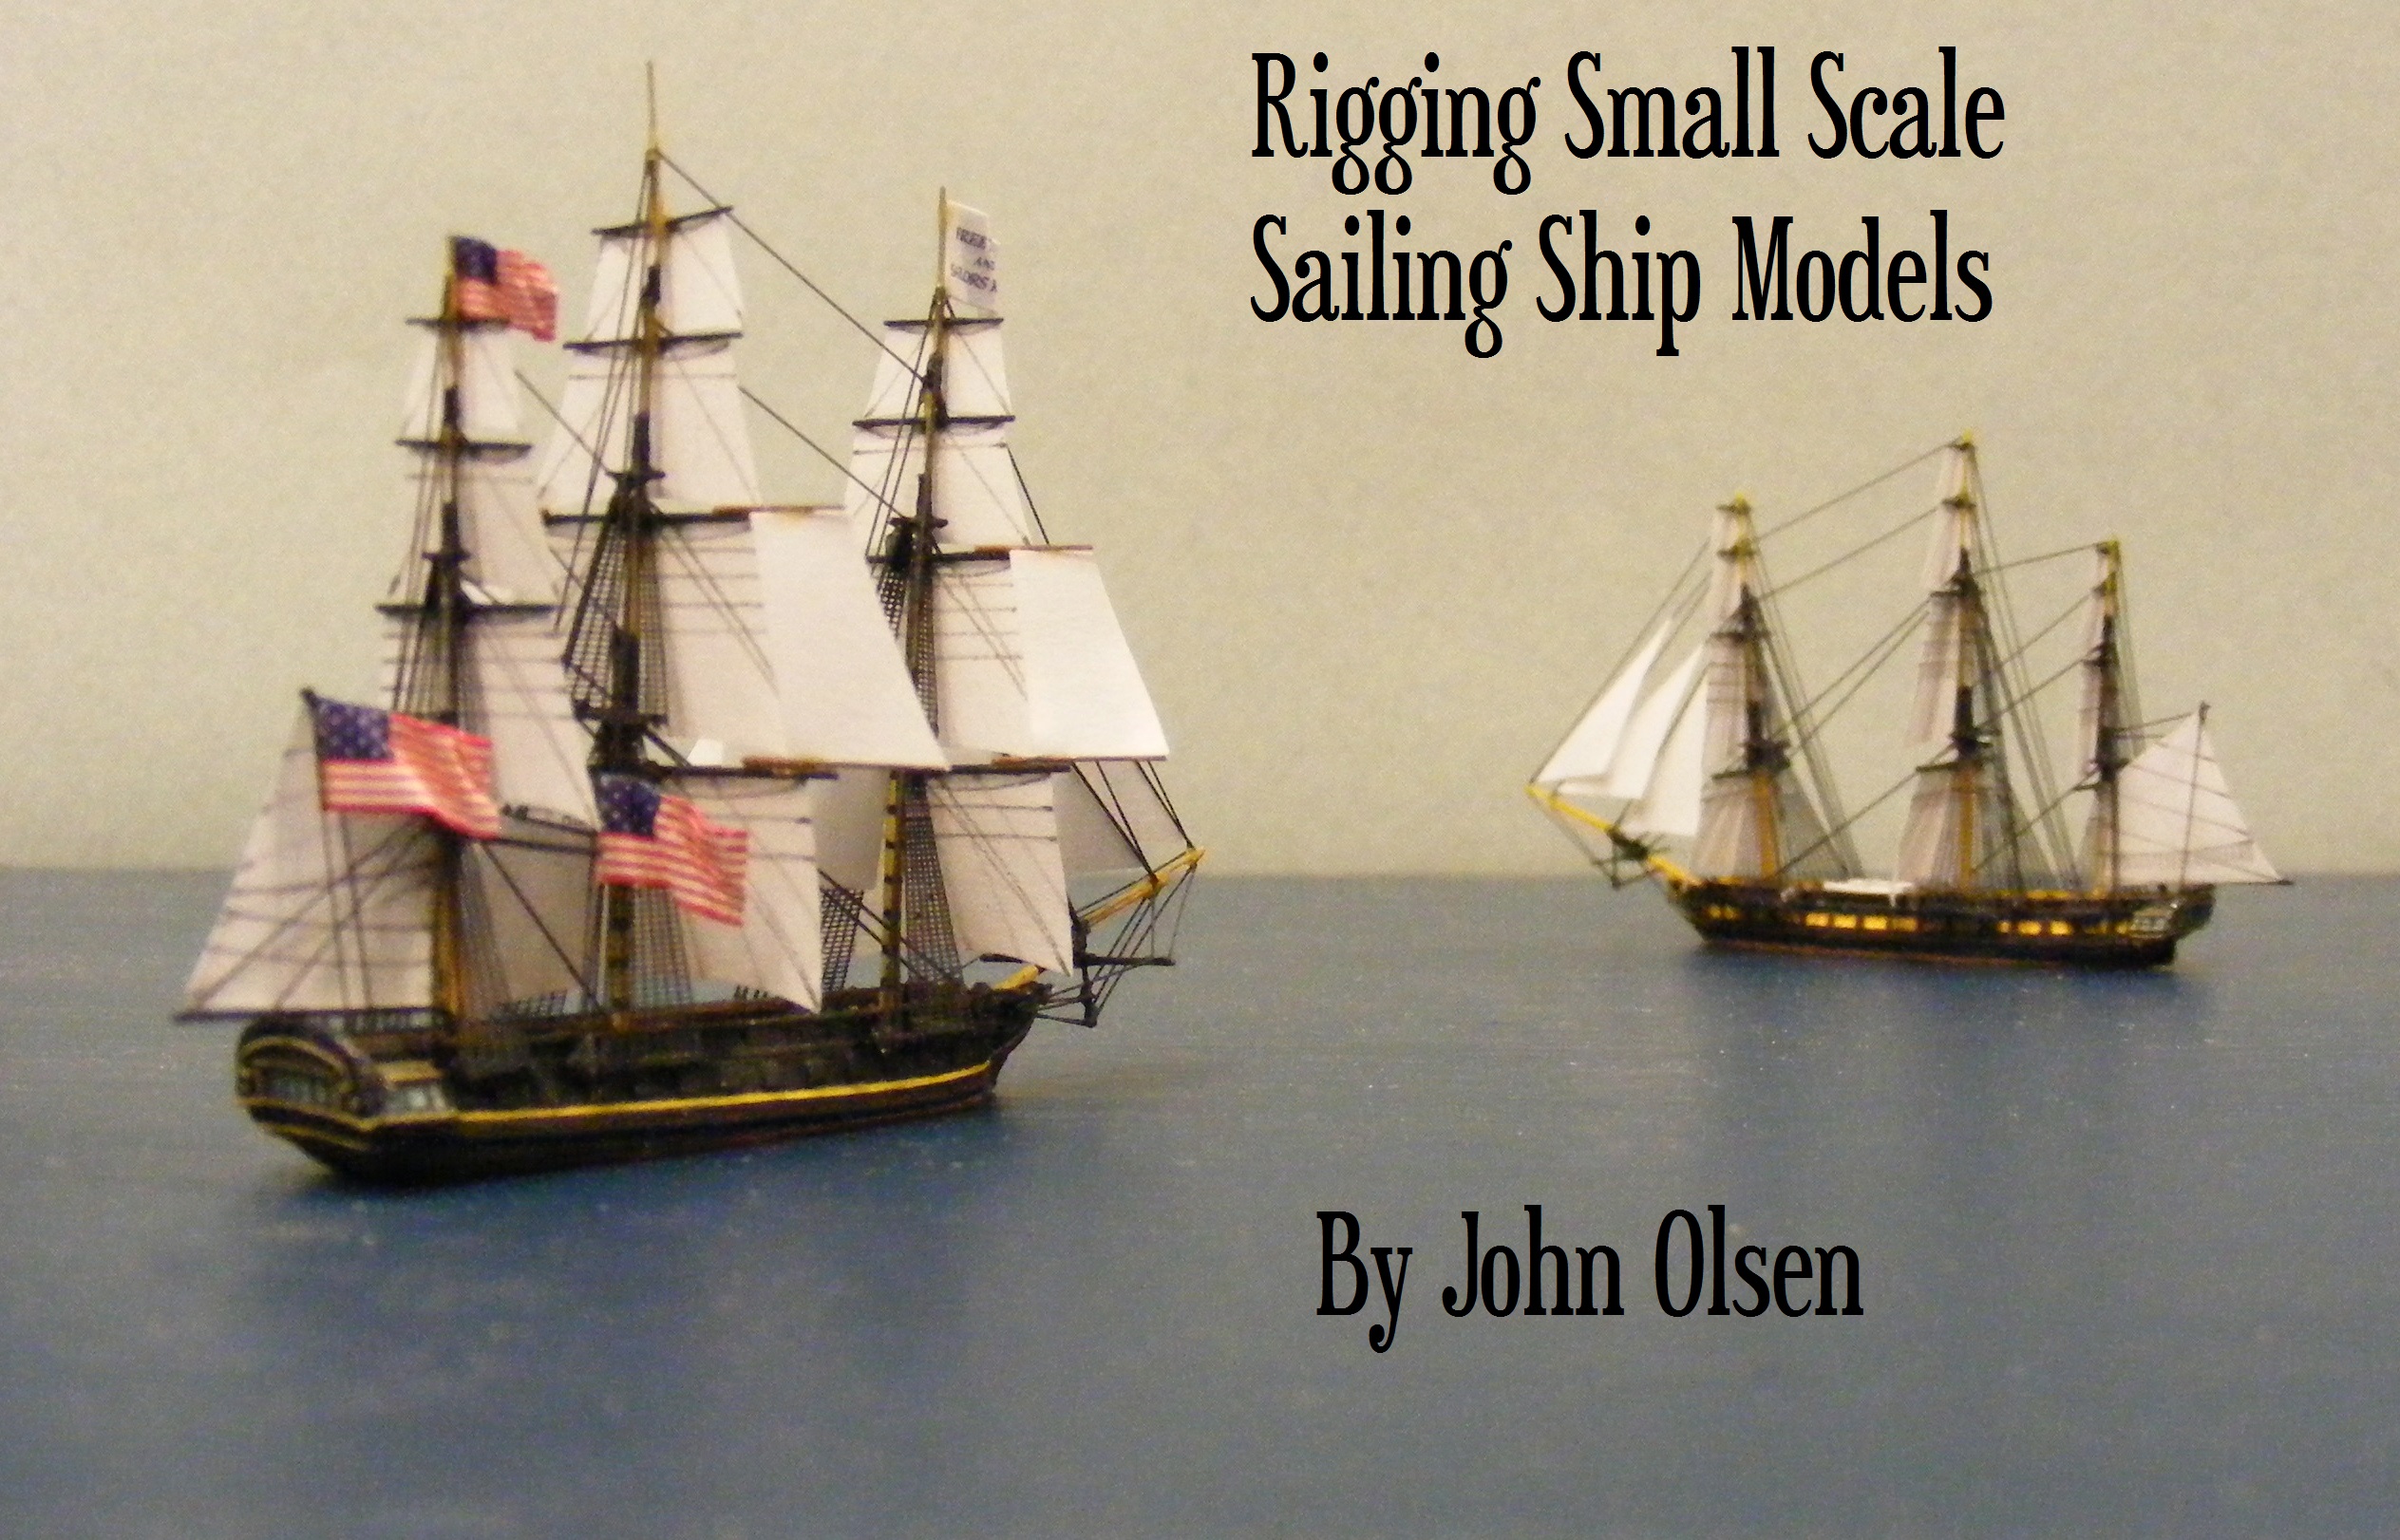
RIGGING SMALL SCALE SAILING SHIP MODELS
It takes some skill and some patience, but rigging small scale ship models is easier than many people think. There are different ways to do it, and experienced modelers have their own personal approaches and methods. This is one that works for me.
General Tips:
· Research proper hull colors. Contemporary paintings, models, eyewitness descriptions, painting guides and official regulations are good resources, but often conflict with each other. Remember, colors were often dictated by the captain’s (or admiral’s) personal taste and wealth. Varnishes, “blacking” with tar of hull areas subject to wear, and tallow/tar coatings below the waterline were the rule until paints were introduced in the 1770’s and copper bottoms in the 1780’s. Dockyard paint stocks were limited to black, white and ochre (yellow and red), so more exotic (and costly) colors had to be privately obtained. This resulted in color schemes that were far from uniform until the mid-19th century.
· Research spar dimensions, sail cuts and rigging plans. These had become standardized in most navies according to ship rate by the mid-18th century, and tables listing dimensions are available from several books. British models specified specific spar lengths, while French models relied on proportional formulas based on the general dimensions of the ship.
· Determine what to include and what to leave out. Including too much rigging can visually overwhelm a small scale model by introducing overscaled elements (lines, blocks, etc) that would be virtually invisible in reality. A good standard to follow is to show the ship’s standing rigging but eliminate the lighter running rigging unless your modeling skills and materials are up to the task.
· Build a larger scale rigged model. This is a good experience for any modeler and a great way to “learn the ropes” first hand. Many commercially available inexpensive plastic kits can easily provide this experience without much effort.
| Click to Enlarge |
.jpg) |
Bare, cast metal hull, some assembly (cementing gallery to stern) may be required. Fill gaps and voids, remove excess flash and lightly sand where needed. Add strip styrene to bottom of hull for additional freeboard if required. Mast and sail castings may be discarded and plastic rod for lower masts and bowsprit substituted.
| Click to Enlarge |
.jpg) |
Spray prime hull assembly. Paint with fine, pointed watercolor brush starting with deck, then paint inside bulwarks, hull base color, trim color and window strips. Paint raised detailing with a light go-over with a small amount of paint using a 000 or smaller brush. Several passes may be required to correct errors. Fabricate tops from strip styrene. On larger tops, cut square lubbers hole in middle and frame trestle trees with strip styrene glued to the bottom of the top platform so that top fits snugly around mast. Glue in place, and when dry, spray entire model with Dullcoat.
| Click to Enlarge |
.jpg) |
Fabricate topmasts and topgallants from brass wire, carefully measured, cut and cemented into place. Add crosstrees to each side of topgallant doubling. Before cement sets, make sure masts are plumb and aligned vertically with each other. Cement brass wire jib boom to bowsprit and dolphin striker to tip of bowsprit beneath jib boom. Spritsail yard may be added at this point abaft dolphin striker. Paint mast assemblies, touch up any worn spots on hull, and spray model again with Dullcoat.
| Click to Enlarge |
.jpg) |
Blacken lengths of .006 and .008 brass wire and cut to measure, bending double with tweezers when paired lines are required. Apply small amounts of cement to each end of line and fit into place with tweezers, working from the bottom up. Cut spanker gaff and boom from brass wire, bend ends with tweezers to proper angles and cement to lower mizzen mast, holding in place until cement sets, and paint. Cut spanker sail from paper, pencil in reef bands, reef points and clew lines, lightly bend to shape and attach to gaff and boom with white glue.
| Click to Enlarge |
.jpg) |
Use either metal photoetch ratlines (Navalis) or lengths of blackened brass wire for individual shrouds, leaving ratlines out. For photoetch, cut ratlines to size, blacken each side with permanent marker and cement into place. When dry, apply a thin wash of flat black paint to dullen marker finish. Take care to keep voids between shroud lines and ratlines open by washing out paint clogs with a moist brush. Do not apply Dullcoat as it tends to clog the voids.
| Click to Enlarge |
.jpg) |
Blacken lengths of .008 and .006 brass wire, apply cement to ends and position with tweezers on each side of mast aft of the ratlines from channels to crosstrees and mastheads. Also gaff vangs, flag halliards and bowsprit rigging may be added as appropriate.
| Click to Enlarge |
.jpg) |
Use plastic rod for lower yards and brass rod for upper. Other suitable materials (bamboo slivers, toothpicks, etc) may be substituted. Measure and cut to length. Taper plastic rod (larger diameter yards) gradually from midpoint to ends by pulling it at a roll beneath a piece of fine sandpaper. Cement yards to masts at a uniform angle, making sure yards on each mast align with one another and are uniformly level. Paint, but do not apply Dullcoat.
| Click to Enlarge |
.jpg) |
Measure and cut sails from paper. Pencil in reef bands and reef points on each side, using a light table to ensure alignment. On front side, pencil in leech and bunt lines; on rear, clew lines and footropes. Lightly bend to convex shape and attach to yards with white glue. Flags may be obtained from commercially pre-printed paper sheets or generated by computer using mirrored images butted at the hoist and reduced to proper scale. Cut flags from sheet, fold over along hoist and cement sides together with white glue. Before glue dries, bend to shape with tweezers. Cement to gaff halliard or masthead.
_____________________________________________________________________________________________
|